Delicious Milk Tart Cupcakes
Why You’ll Love These Delicious Milk Tart Cupcakes?
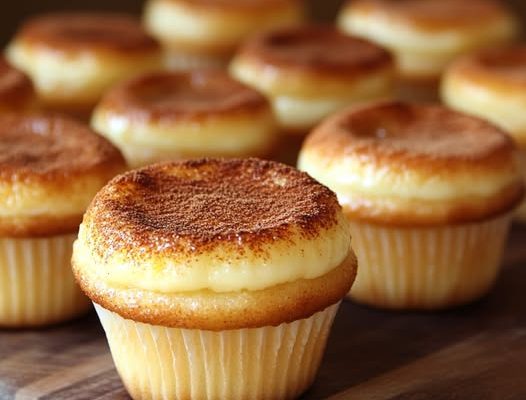
Milk tart is a beloved South African dessert known for its creamy, smooth filling and delicate cinnamon dusting. Now, imagine this traditional treat transformed into bite-sized cupcakes. These Delicious Milk Tart Cupcakes capture all the comforting flavors of milk tart in a fun and portable form. The best part? They’re easy to make, look stunning, and are perfect for any occasion—whether you’re celebrating a holiday, hosting a party, or simply satisfying a sweet craving.
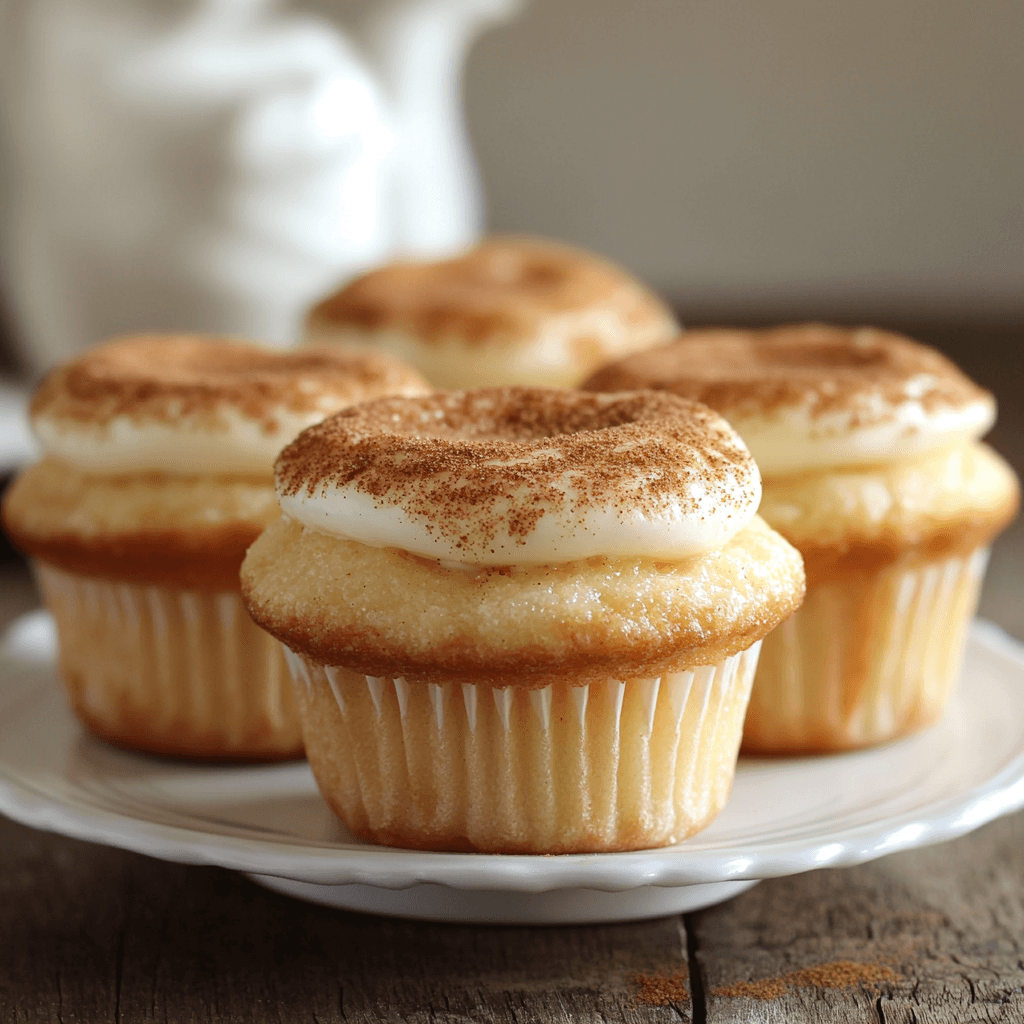
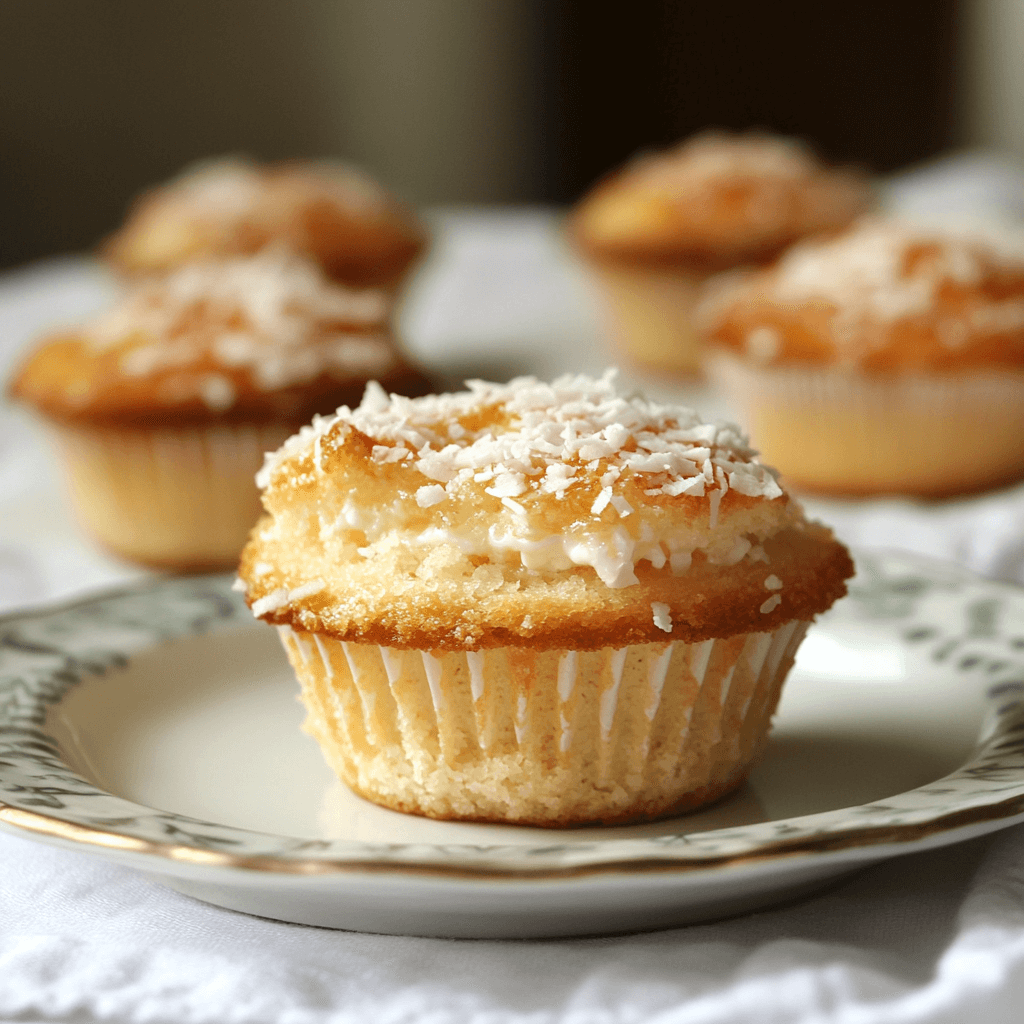
The soft, fluffy cupcakes are infused with a hint of vanilla and milk, creating the ideal base for the rich, creamy custard filling. Topped with a dusting of cinnamon, each cupcake is a tiny slice of heaven that combines the best elements of a classic milk tart and a cupcake. It’s a treat that’s both nostalgic and innovative, ideal for fans of the original milk tart and anyone looking for something unique.
If you’re a fan of sweet, creamy desserts that pack a lot of flavor into a small, easy-to-eat package, you’ll fall in love with these Milk Tart Cupcakes.
What You’ll Need
These cupcakes feature two key components: the cupcake base and the creamy custard filling. Here’s what you’ll need for both parts:
For the Cupcakes:
- 1 cup all-purpose flour
- 1 cup sugar
- 1/2 cup butter, softened
- 2 eggs
- 1/2 cup milk
- 1 teaspoon baking powder
- 1 teaspoon vanilla extract
For the Filling:
- 1 cup milk
- 1/2 cup sugar
- 2 tablespoons cornstarch
- 1 egg
- 1 teaspoon vanilla extract
For Garnishing:
- Ground cinnamon (for dusting)
Equipment:
- Cupcake tin and liners
- Mixing bowls
- Hand mixer or whisk
- Small saucepan
- Measuring cups and spoons
- Spoon or piping bag for filling
- Sifter (optional, for cinnamon dusting)
Step-by-Step Instructions
Making these Delicious Milk Tart Cupcakes is an enjoyable process that comes together quickly. Let’s walk through the steps to create these delicious treats from scratch.
Step 1: Preheat Your Oven and Prepare the Cupcake Tin
Start by preheating your oven to 180°C (350°F). Line a cupcake tin with cupcake liners to ensure the cupcakes don’t stick and are easy to remove once baked. If you prefer to make mini versions, use a mini cupcake tin and adjust the baking time accordingly.
Step 2: Prepare the Cupcake Batter
In a large mixing bowl, beat the softened butter and sugar together using a hand mixer or whisk until the mixture is light and fluffy. This step is crucial to ensuring your cupcakes are light and airy.
Next, add the eggs one at a time, beating well after each addition. Once the eggs are incorporated, add the vanilla extract and mix again.
Now, sift together the all-purpose flour and baking powder to ensure there are no lumps in the dry ingredients. Gradually add the dry ingredients to the butter and egg mixture, alternating with the milk. Start and end with the dry ingredients. Be careful not to overmix the batter—stir just until everything is combined.
Once your batter is smooth and lump-free, divide it evenly among the cupcake liners, filling each one about two-thirds full.
Step 3: Bake the Cupcakes
Place the tin in the preheated oven and bake for 18-20 minutes, or until a toothpick inserted into the center of a cupcake comes out clean. Keep an eye on them to avoid overbaking; the cupcakes should have a golden-brown top with a soft, spongy texture.
After baking, remove the cupcakes from the oven and let them cool in the tin for about 5 minutes. Then, transfer them to a wire rack to cool completely.
Step 4: Prepare the Custard Filling
While the cupcakes are cooling, prepare the custard filling. In a small saucepan, heat the milk over medium heat until it begins to warm, but not boil.
In a separate bowl, whisk together the sugar, cornstarch, and egg until smooth. Once the milk is warm, slowly pour it into the egg mixture while continuously whisking to prevent curdling. Once combined, return the mixture to the saucepan.
Cook the custard over low to medium heat, stirring constantly, until it thickens. This should take about 5-7 minutes. Be patient, as the custard thickens gradually. Once the custard is thick and smooth, remove it from the heat and stir in the vanilla extract.
Allow the custard to cool for a few minutes. It should be thick enough to pipe into the cupcakes without running out, but still creamy and smooth.
Step 5: Fill the Cupcakes
Once the cupcakes are completely cool, use a small knife or cupcake corer to cut out a little well in the center of each cupcake. Make sure to leave enough of the cupcake around the edges to hold the custard without making the cupcake fall apart.
Spoon or pipe the custard into each cupcake, filling the well generously. You can use a piping bag for a cleaner, more controlled filling or simply spoon the custard into the centers with a teaspoon. Be sure not to overfill, as the custard may spill over the edges.
Step 6: Garnish and Serve
Once all the cupcakes are filled, dust the tops with a light sprinkle of ground cinnamon for that classic milk tart flavor. You can use a sifter to ensure an even, fine layer of cinnamon.
Let the cupcakes sit for about 10-15 minutes to allow the custard to set. Once ready, they’re good to serve! You can enjoy them immediately or store them for later.
Tips for Success
Making Milk Tart Cupcakes is straightforward, but there are a few tips to ensure your cupcakes turn out perfectly every time:
- Don’t Overmix the Batter: When combining the wet and dry ingredients for the cupcakes, avoid overmixing. Overmixing can lead to dense cupcakes instead of light and fluffy ones. Mix just until everything is combined.
- Monitor the Baking Time: Baking times can vary based on your oven, so be sure to check the cupcakes with a toothpick towards the end of the suggested baking time. If it comes out clean, your cupcakes are done.
- Cool Cupcakes Completely Before Filling: Make sure the cupcakes have cooled down completely before filling them with the custard. If the cupcakes are too warm, the custard might melt or become too runny.
- Make the Custard Thick: Ensure the custard is thick enough to stay inside the cupcakes. If it’s too runny, it will spill out. Let the custard cook long enough to thicken, but don’t overcook it, as this could lead to a lumpy texture.
- Use Fresh Cinnamon: For the best flavor, use freshly ground cinnamon. It adds a lovely, aromatic flavor that complements the creamy custard and soft cupcakes.
Variations to Try
While these Delicious Milk Tart Cupcakes are already a great treat, there are many ways to make them your own. Here are a few ideas for variations:
- Chocolate Milk Tart Cupcakes: For a decadent twist, you can add some cocoa powder to the cupcake batter. This creates a chocolate-flavored base that pairs wonderfully with the creamy custard filling.
- Fruit-Filled Cupcakes: Consider adding a layer of fruit preserves (such as raspberry or strawberry) at the bottom of each cupcake before adding the custard. This adds a tangy contrast to the sweetness of the custard.
- Mini Milk Tart Cupcakes: If you’re hosting a party or want bite-sized versions, you can make mini cupcakes using a mini cupcake tin. Simply reduce the baking time to around 12 minutes.
- Nutty Milk Tart Cupcakes: Top the cupcakes with crushed nuts like almonds, hazelnuts, or pecans for added texture and flavor. A sprinkle of toasted coconut can also provide a fun variation.
- Lemon Zest Milk Tart Cupcakes: Add a little lemon zest to the custard filling for a fresh, zesty flavor that complements the richness of the milk tart custard.
Storing and Reheating
If you happen to have leftover cupcakes, here’s how to store them so they stay fresh:
- Storing: Keep the cupcakes in an airtight container at room temperature for up to 2 days. The custard should stay fresh and creamy. If you need to store them for longer, place them in the fridge for up to 4 days.
- Reheating: These cupcakes are best enjoyed fresh, but if you need to reheat them, do so gently. You can microwave the cupcakes for 10-15 seconds to warm them up. However, be cautious not to overheat the custard, as it could lose its smooth texture.
- Freezing: You can freeze the cupcakes before filling them with custard. Place the cooled cupcakes in an airtight container or freezer bag and freeze for up to 3 months. When you’re ready to serve them, thaw at room temperature and fill with fresh custard before serving.
Frequently Asked Questions
1. Can I make the cupcakes ahead of time? Yes, you can make the cupcakes ahead of time. Simply bake and cool them, then store them in an airtight container. When you’re ready to serve, fill with fresh custard and dust with cinnamon.
2. Can I use a different flavor of filling? Absolutely! While the traditional milk tart filling is custard-based, you can experiment with flavored fillings, such as chocolate custard, lemon curd, or even a fruit compote, for a unique twist.
3. Can I make these cupcakes gluten-free? Yes! You can use a gluten-free all-purpose flour blend in place of regular all-purpose flour to make these cupcakes gluten-free. Make sure to check that the cornstarch and other ingredients are also gluten-free.
4. Can I make these cupcakes without eggs? If you’re looking for an egg-free version, you can substitute the eggs with a flaxseed egg (1 tablespoon ground flaxseed + 3 tablespoons water per egg) or a store-bought egg replacer.
The Final Word
Delicious Milk Tart Cupcakes are a perfect blend of traditional flavors and modern fun. These cupcakes provide a rich, creamy filling in a portable, bite-sized form, making them the ideal treat for any occasion. Whether you’re new to milk tart or have enjoyed it for years, these cupcakes offer a fresh way to indulge in this South African classic.
With their soft texture, silky custard filling, and a touch of cinnamon, these Milk Tart Cupcakes will surely become a favorite in your baking repertoire. Perfect for gatherings, celebrations, or a simple afternoon treat, they bring joy with every bite. So, grab your ingredients, preheat your oven, and get ready to enjoy a new spin on a beloved dessert!
